Purists swear by desktop scanners and swear at those who dare to use (or suggest using) smartphone apps for scanning photos. They aren’t entirely wrong, but not entirely correct either.
A flatbed scanner does give higher quality scans than a handheld mobile device, but not everyone has a flatbed scanner. And not everyone carries it everywhere with them. A feeder-type scanner is fast, but you can’t use it for scanning albums. If your desktop scanner doesn’t auto-crop the scans, you’ll spend as much time on cropping as you’ll on scanning. If it’s a big project – say you have 2000 photos – think about scanning (or getting scanned) the rarest, best 200-300 with a “proper” scanner, and the rest with a phone. This will save you time, effort, and money – and will get the job done.
iPhone and iPad cameras take great photos, and they also work great for scanning. The iOS App Store has a lot of scanner apps. This short guide provides tips on which device and scanner apps you should use. When scanning photos with an iOS device, you also need to follow a few easy scanning rules. This guide provides scanning tips that work for all photo scanner apps.
Document vs. Photo Scanner Apps
There are document scanner apps, and photo scanner apps. You need both – A document scanner app for scanning documents, and a photo scanner app for scanning photos. Document scanner apps aren’t designed for scanning photos. To get high quality scans of paper photos, you need a photo scanner app.
Document scanner apps detect the edges of a document’s pages, do perspective correction, and save multi-page files in PDF format. Photo scanner apps detect the edges of photos, enhance the images, include photo editing tools, often let you add metadata, and save files in JPG format.
iPhone/iPad camera specs
Since the quality of scans depends on the scanning device i.e. your camera, let us first look at the cameras on different models of iPhone and iPad.
- iPhone with 48 MP cameras: iPhone 14 Pro, iPhone 14 Pro Max and later models
- iPhone with 12 MP camera: iPhone 14; iPhone 13, 13 Pro and 13 Pro Max; iPhone 12, 12 Pro and 12 Pro Max; iPhone 11, iPhone X, iPhone 8, iPhone 7S and 7S Plus, iPhone 7 and 7 Plus, iPhone SE, iPhone 6S and 6S Plus
- iPhone with 8 MP camera: iPhone 6 / 6 Plus, iPhone 5S, iPhone 5C and iPhone 5
- iPad with 12 MP camera: iPad Pro 2G (12.9″ and 10.5″); iPad Pro 1G 9.7″ and later models
- iPad with 8 MP cameras: iPad (2018), iPad Pro 1G 12.9″, iPad (2017), iPad Air 2, iPad mini 4
- iPhone with 5 MP cameras: iPad Air, iPad 4G, iPad mini 3 and iPad mini 2 (Retina)
Cameras on recent iPhone and iPad models have larger sensors, which give brighter images. They also have better low-light performance. iPhone cameras are better than similar-vintage iPad camera.
How to Scan Photos
A high megapixel camera can capture high quality scans. However, scan quality also varies depending on how you scan. You need the right camera and the right app, but should also use them the right way.
Below are our tips for getting high quality scans. These apply to all smartphone photo scanner apps.
1) Choose the right device:
If you have an iPhone as well as iPad, check the above table to see which has a better camera. If iPad has a higher-MP camera, use iPad; but if both cameras have the same MP-count, then scan with iPhone. iPad is heavier and bulkier, which makes it harder to hold steady and avoid camera shake.
2) Scan one or two photos at a time:
Some photo scanner apps let you scan and auto-crop multiple photos. Scanning more at a time is faster but it reduces the resolution. The more photos you squeeze into each scan, the fewer pixels you’ll get in each cropped photo. If you need high resolution, scan one or two photos at a time. For quick sharing on social media, scanning 3-4 is OK. If using an iPhone with a 42 MP camera, you can get high quality scans even when scanning four photographs at a time.
3) Ensure good lighting:
Photography demands good light. When you take photos in poor light, they look dull and grainy – the same goes for scanning.

Can you tell which of the above scans is by daylight and which in poor light? So if you are reading this at night, now isn’t the ideal time to put your photo scanner app to the test!
Scan in daytime near a window to get indirect light. Electric light makes it hard to avoid glare, shadows and reflections. Also, colors look different when you scan under white (fluorescent) vs. yellow light.
4) Optimize camera distance:
When you scan, the image contains your photos and the background. Photo scanner apps detect, crop out and save the photos, while discarding the background. This is how auto-cropping works. You want your scans to contain more photo and less background. Let us explain with three examples:
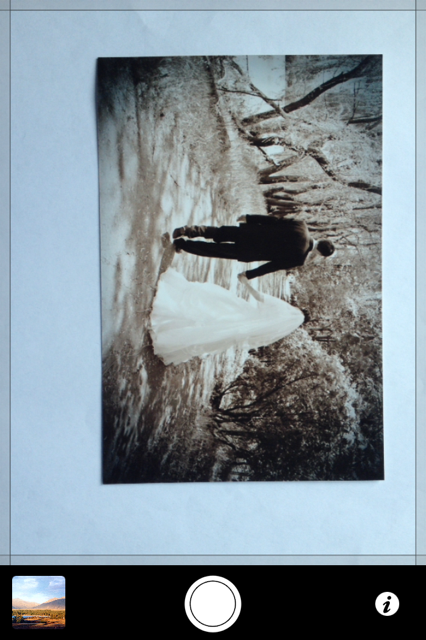
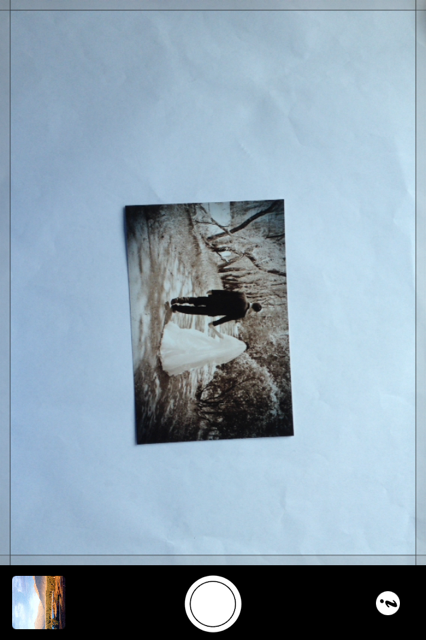
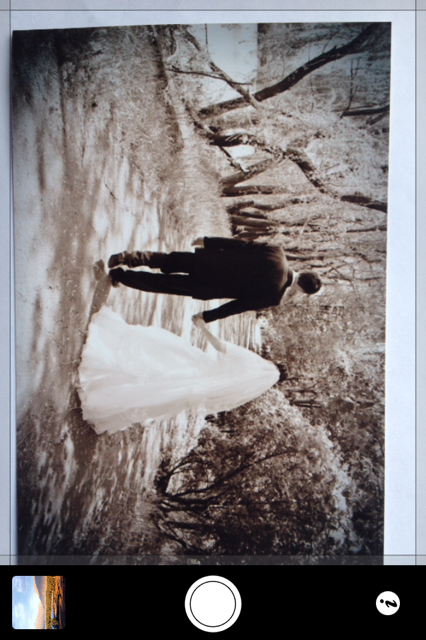
Photo #1 is the correct way to scan. In photo #2, the camera is too far. Too much background; too little photo. So, the app will crop it correctly, but most of the pixels will be discarded and you’ll be left with a low resolution scan. Conversely, if the camera is too close and the photo extends beyond the scanner frame (Photo #3), cropping may be inaccurate.
5) Arrange photos as below:
How you place the photos and how far you hold the camera can have a significant impact on the resolution of cropped photos. When scanning photos, arrange them as shown below so as to minimize the white background:
Scanning with iPhone:

When scanning with an iPad, arranging the photos in a 1 x 1 or 2 x 2 grid works well.
6) Tap to focus:
This is important. After positioning the camera over the photos, tap the screen ONCE to force-focus it. Tap the scanner shutter only after the picture is focused well.
7) Scanning with iPad?
Are you scanning with iPad and having difficulty holding it steady – or centering the camera over the photos? Camera shake can ruin your scans. Try this hack to solve the problem.
Also read these tips for accurate auto-cropping.
Photo Scanner Apps for iOS
![]()
![]()
Pic Scanner
Introduced in 2012, Pic Scanner was the world’s first photo scanner app for scanning multiple photos at a time. It’s a lightweight app for basic editing, adding captions, creating albums and sharing photos. It’s an easy to use, no-frills app if your scanning needs are simple and you use an older iPhone or iPad with a 5-8MP camera. Key benefits: All the essential functions, low price and unlimited use.
Pic Scanner website
Pic Scanner App Store page
![]()
![]()
Pic Scanner Gold
Pic Scanner Gold is Pic Scanner’s advanced version. It does everything that Pic Scanner does, plus: Gives higher quality scans, includes a 19-tool photo editor, allows addition and export of captions; lets you convert photos into shareable albums, slideshows, greeting cards and calendars. You can also sync photos between iPhone and iPad, and back them up to Mac or free cloud services. If you have iCloud storage, it can automatically back up your scans, albums etc. in Cloud. Key benefits: Lots of features, and no cloud storage subscriptions or in-app purchases as in most photo scanner apps.
Pic Scanner Gold website
Pic Scanner Gold App Store page
What’s unique in these apps:
- Being able to scan and auto-crop multiple photos at a time is a real time-saver when you have hundreds of photos. Other apps only scan and crop one photo at a time. Both apps have an AI-powered auto-cropping engine for highly precise image detection and cropping.
- The ability to add captions is priceless: Recording date, place, people and other information ensures that every little detail you care to remember is preserved.
- Both these apps do all the processing on your device itself – nothing is ever uploaded to a server, assuring you of complete privacy.
Download the app that meets your needs by clicking the links above. Scanning your priceless photos with these inexpensive apps will be a rewarding, nostalgic journey down memory lane. Enjoy it.
***
Prefer Scanning with A Scanner or DSLR Camera?
If you already have a scanner or a high megapixel DSLR camera, you can also scan photos with them. For batch cropping these scans – and adding metadata (dates, locations, descriptions) to multiple photos at a time, there’s a great macOS app: SnipTag. It two functions: Snip and Tag. Snip can batch-crop dozens of scanned photos with one click. Tag is for captioning and image metadata editing. The app offers a free trial, so if you have a Mac, go ahead and download it here.
Why You Must Add Metadata?
Every digital photo has a time stamp indicating when it was created. This information is stored in an invisible “metadata” field EXIF Date / Time Created. But when you scan a photo taken, say, on 4 May 1978, the EXIF date will show when you scanned it, not when you took it. As a result, it will appear out of sequence when added to any photo program. To organize and display scans in the correct order, you must edit their metadata. If you have time, you can also add locations and descriptions. You can even edit the files names, e.g. from IMG_2421.JPG to Ann’s graduation.
You can do all this with SnipTag.


